
Your cart is currently empty!
Category: 未分类
-
That’s WRONG ! Moissanites on Pendant with Hollow Back Shine Better??
We will help you to figure out the reasons in this esay.
Firstly you must know,
What is The main factors determining the sparkle of your product?
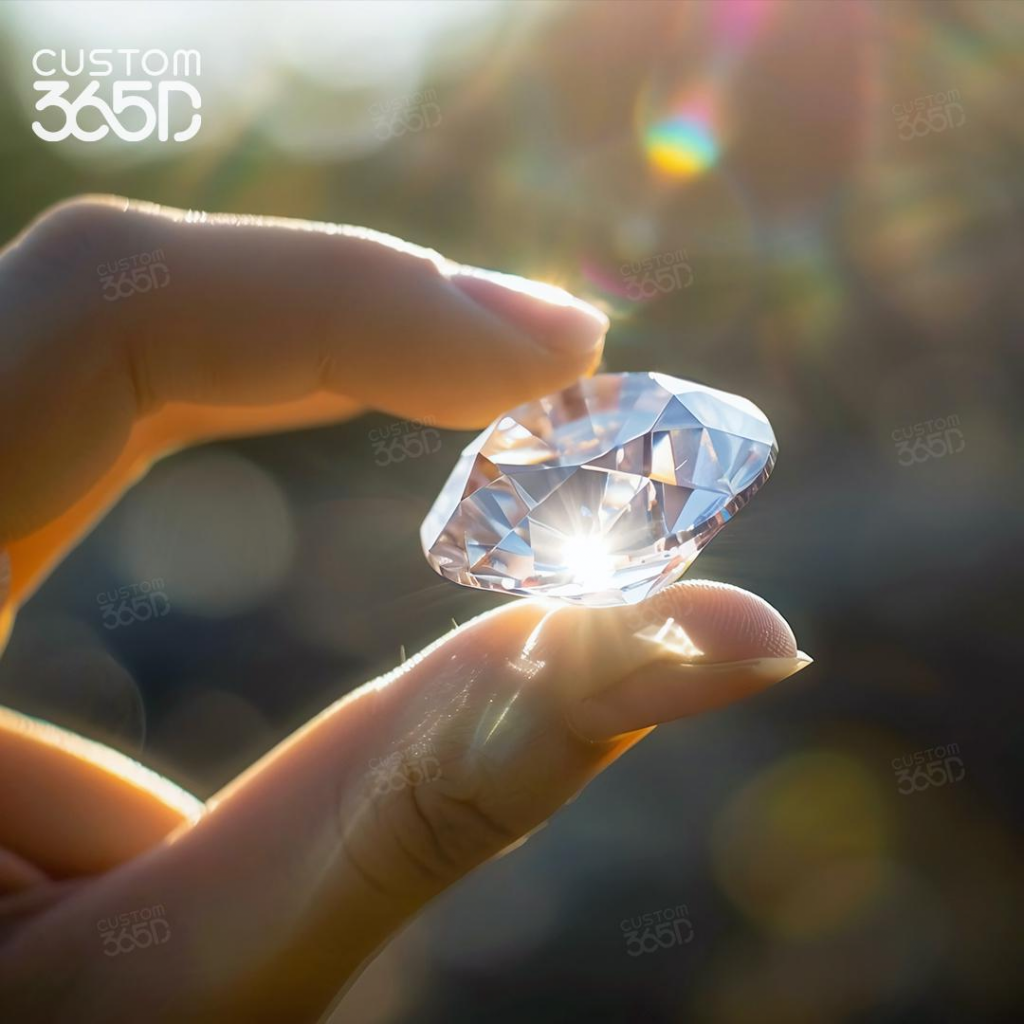
When you see the stones shining, it comes from the excellent effect of reflection. The lights put on the moissanite will be completely reflected from the side they come, some of which slip away in other directions, scattered into colorful lights. For a perfect moissanite, the lights from other directions (not the front) will be reflcted back along the way they come. That leads to the result that how shiny the stone is depends on the intensity of light from the direction you look at it.
For pendants with hollow back, the holes they leave on purpose around the base of stones, which are supposed to make more lights from all directions go through the stones, are actually useless. The physical reason is listed above, let alone the fact that when the pendant sits on your chest, how can the lights come through the back of it?
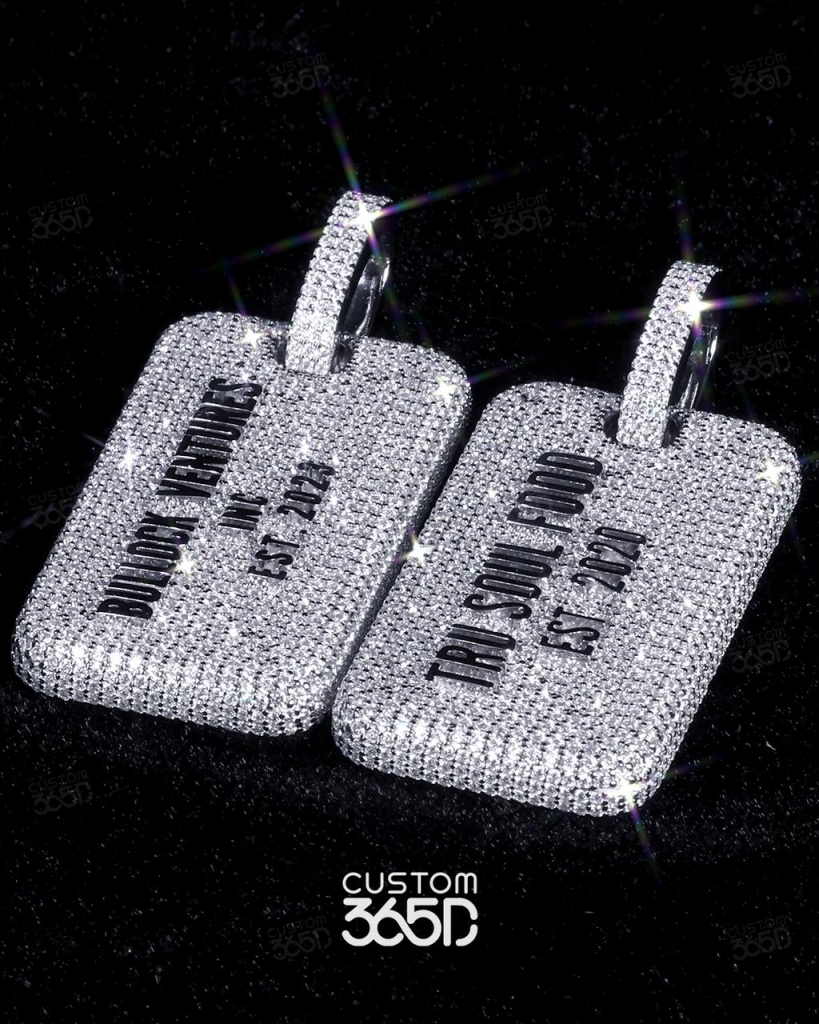
For solid-back pendants, the silver background we set is like a mirror, making sure all lights, including those may slip away, reflected perfectly. Even in gloomy environment, the strengthened gathering of lights along with the metallic luster will make the stones marvellous. These are some examples.
Secondly,For custom jewelry with thousands of stones, what issues having a hollow back can lead to ?
It is a common sense that the moissanites are similar with real diamonds. They are easily covered by dust and oil. With holes around them, the wider they are exposed to the environment, the sooner they get “grey”. Maybe in several weeks your pendant will be like this, SOS!

All these holes on the back of the pendant just speed up the oxidizing period of your pendant, with no any other benefit.
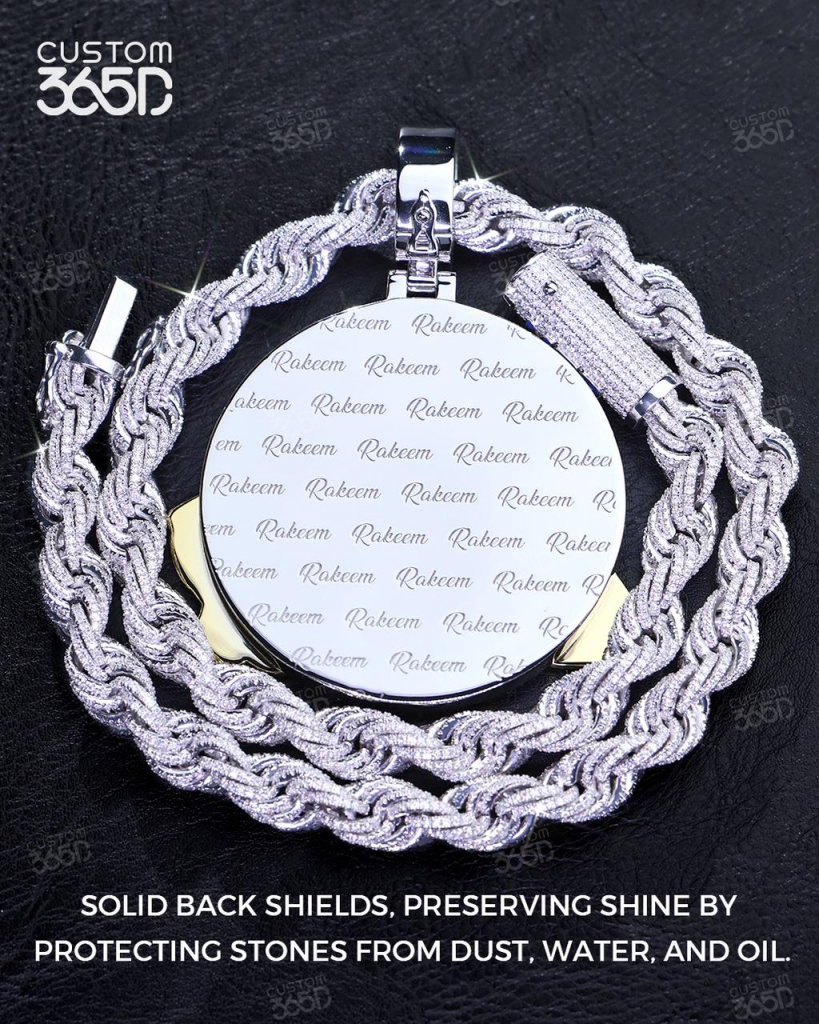
With solid back, the metal part behind the stones will be like a shield to protect them from getting covered by dust, water or oil while you wear the pendant, which will make the shinny look to last for a longer time and reduce the time you need to clean it.
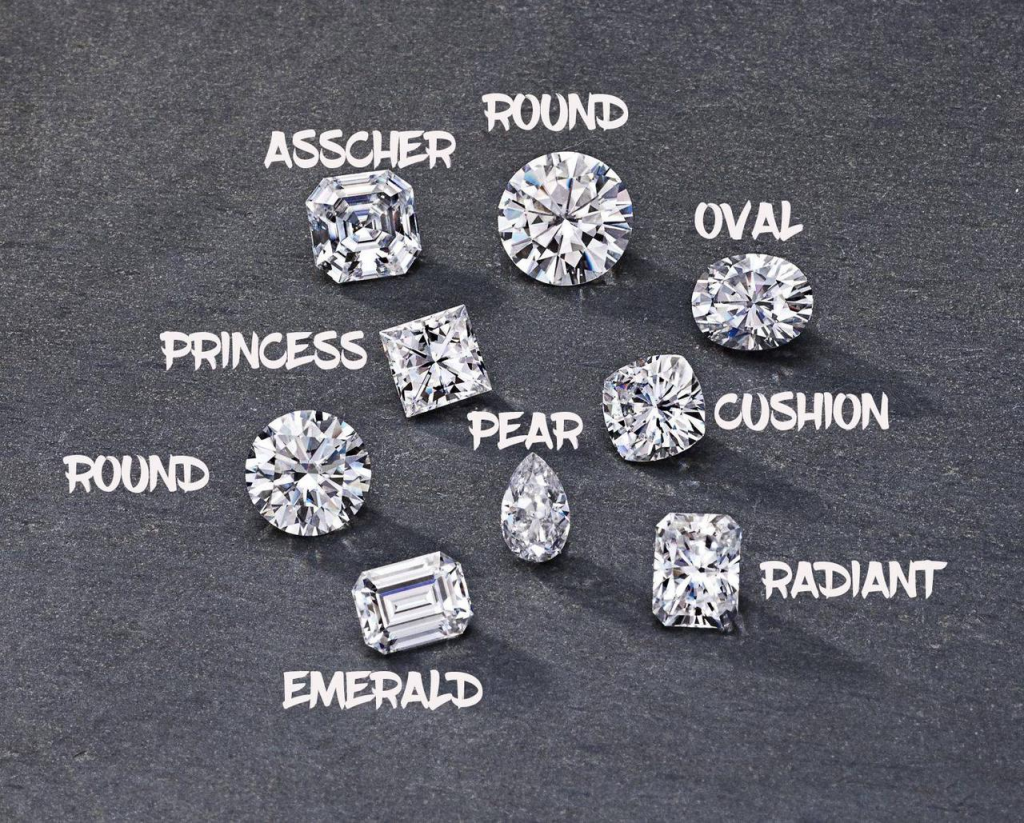
Lastly,the quality of the stones themselves is, of course, crucial.
Same as real diamond, the principles of 4C also work for moissanite, among which the clarity and cut will influence the shine effect the most.
- Clarity: What’s hiding inside a diamond and why does it matter?
- Cut: How do the shape and crafting of a diamond play into its allure
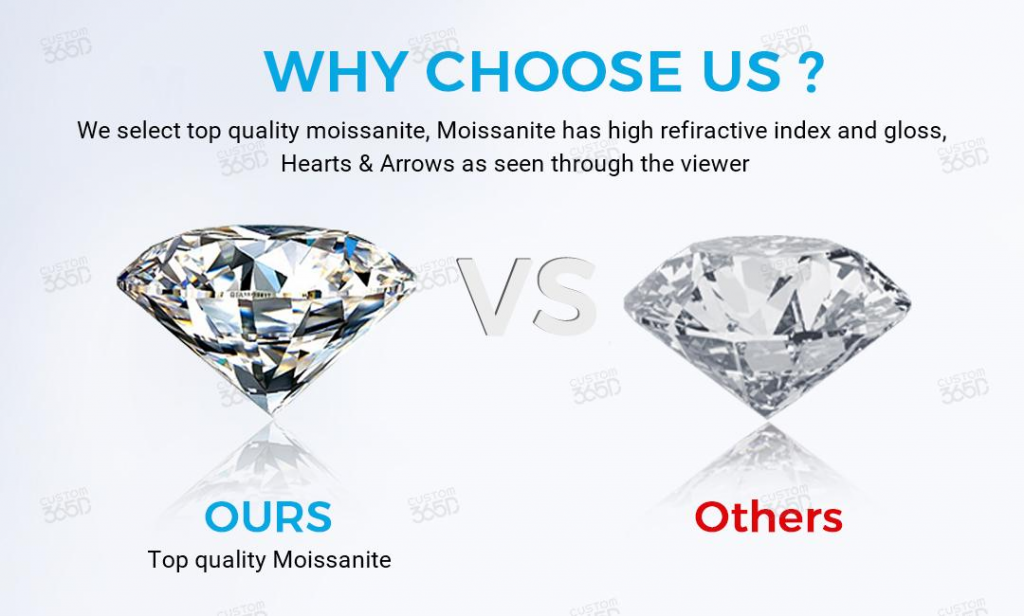
We use vvs moissanites in D color, which is the top quality. And the stones we normally use are in brilliant cut, which will bring excellent effect. A moissanite in perfect cut will generate the best shine effect.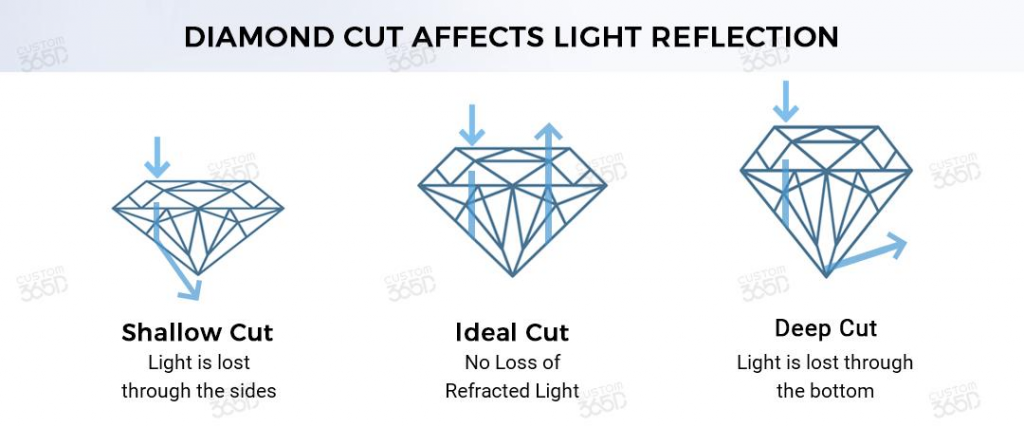
As you can see, all the lights going through it will be gathered and sent to your eyes, no matter how faint the light is.
It will always be like a mirror to make sure you can see the shinny look of it.
-
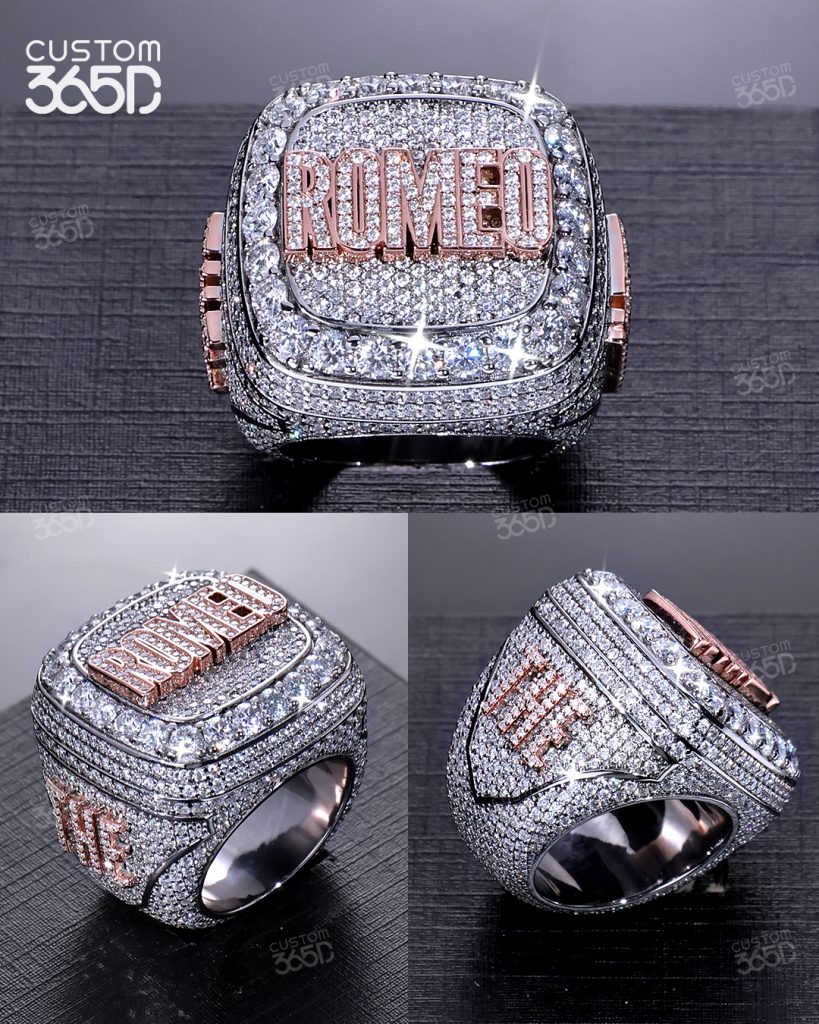
Paint Your Glory with Canvas Champion Rings
The word “Canvas” represents endless creative space and possibilities. We incorporate this concept into every Canvas Champion Ring because we believe that every customer should have the opportunity to freely draw and create on their own ring, whether it’s patterns or text, to perfectly reflect their personal story and style. In short, “Canvas” symbolizes your freedom and personalized expression in jewelry customization.
Currently, we offer:
Diverse Style Choices: Five ring body styles are available to meet your ever-changing aesthetic needs.

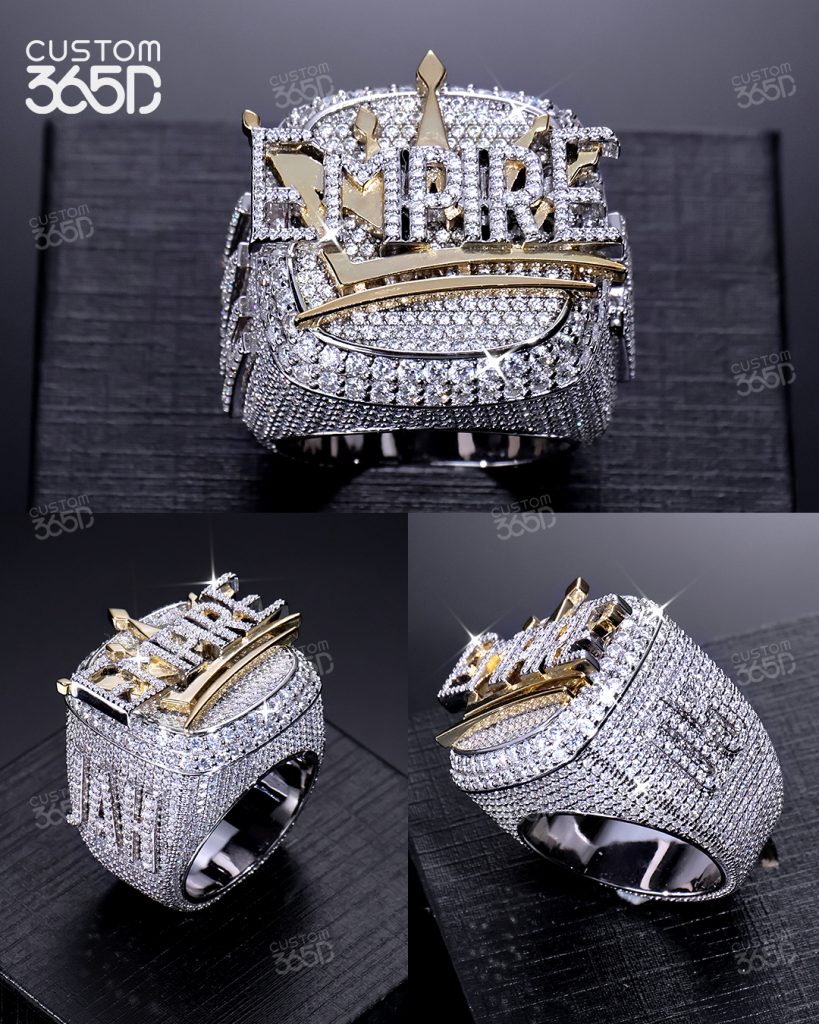
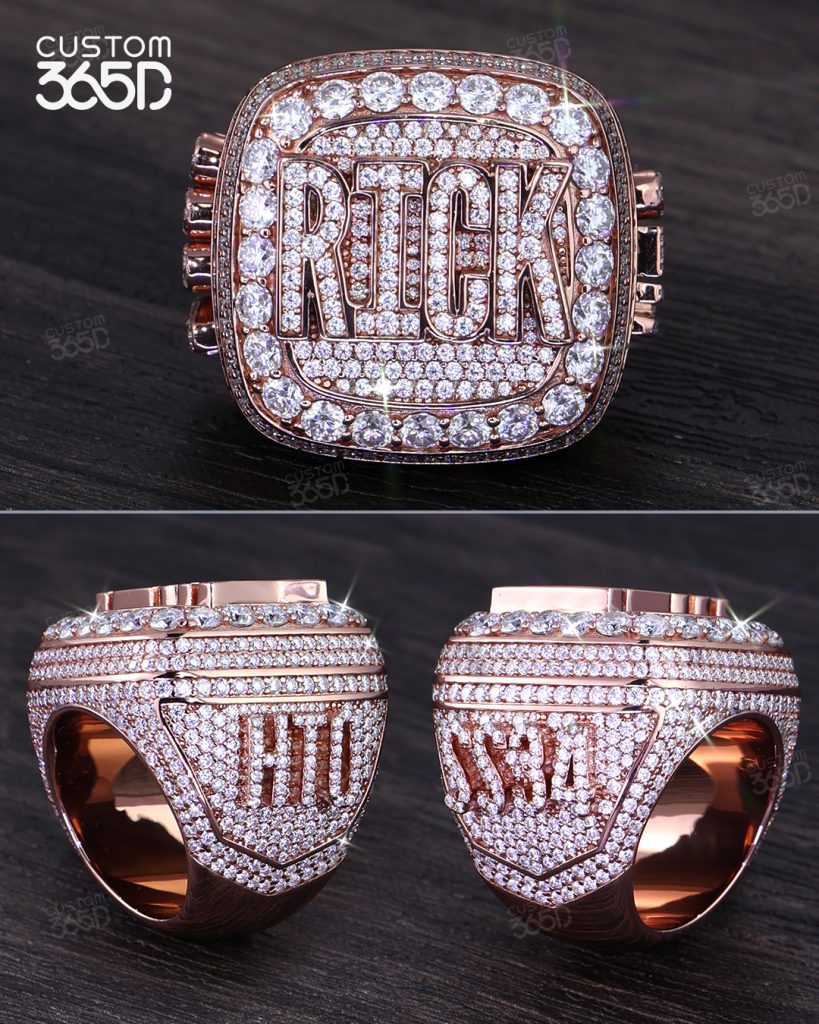
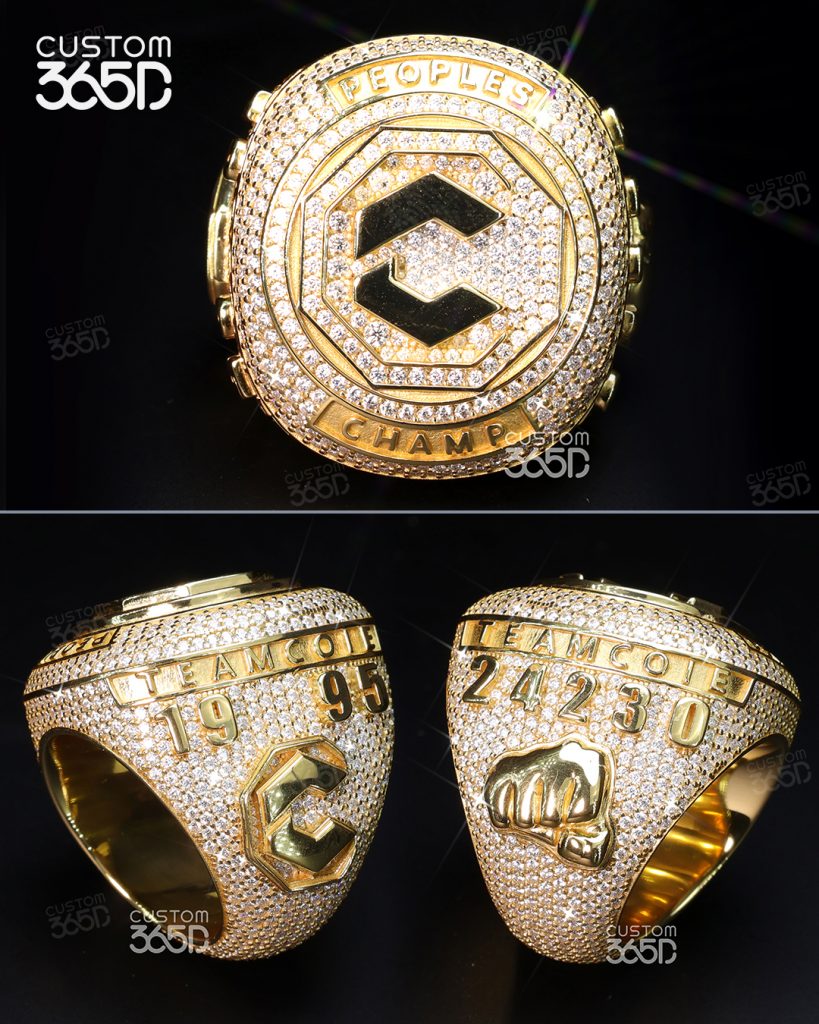
Comprehensive Custom Design: You can freely design geometric patterns and text on the ring face and sides, making the ring truly an extension of your personality.
Comprehensive Custom Design: You can freely design geometric patterns and text on the ring face and sides, making the ring truly an extension of your personality.
Pricing of Canvas Championship Rings
The pricing principles of CANVAS rings: Choosing a CANVAS ring means choosing an unparalleled personalized jewelry experience, as well as a commitment to high quality and affordability.
At CANVAS Championship Rings rings, we are committed to ensuring that every customer can enjoy the pleasure of owning exclusive customized jewelry. To achieve this goal, we follow the following pricing principles:
- In-house design team and factory production: Since our design and production teams focus exclusively on serving our custom clients, we can more flexibly respond to customer needs and adjust design solutions according to budgets, providing customers with the best price advantage.
- Flexibility in the customization process: Because each product is confirmed one-on-one from requirements confirmation to initial draft to modeling to production, and each step requires customer approval, this means that each ring is completed through this advanced one-on-one custom model, helping more customers experience the joy of owning their own high-end custom jewelry.
- Optimization of the modeling and manufacturing process of CANVAS Champion Rings: Our design and manufacturing teams work closely together, enabling us to optimize the production process at a faster pace and lower cost.
Our commitment: With a price range of $490-550, you will be able to enjoy our high-quality standard custom jewelry services. At the same time, we still offer payment plan services. We believe that by optimizing our craftsmanship and pricing reasonably, every customer can own a truly unique piece of jewelry art.
Quality of Canvas Champion Rings
D-color Mozambique diamonds, each meticulously selected
Only 1 out of every 3 finished gemstones can meet the D-color standard. Each ring comprises over 1000 gemstones, and an experienced master takes an average of 5400 seconds to complete the gemstone selection for a Champion ring.
925 silver base material with 5 layers of surface protection:
1. First layer: Thick silver, helping to smooth the surface effecct.
2. Second layer: Palladium metal, strong wear resistance, anti-oxicdation
3. Third layer: Rhodium/14k gold metal, enhancing brightness, making the metal color more shiny.
4. Fourth layer: Nano high-transparency polymer protective layer, covering the entire ring, resistant to
abrasion.
5. Fifth layer: Nano high-hardness diamond film protective layer, protecting super wear-prone areas twice as
much.
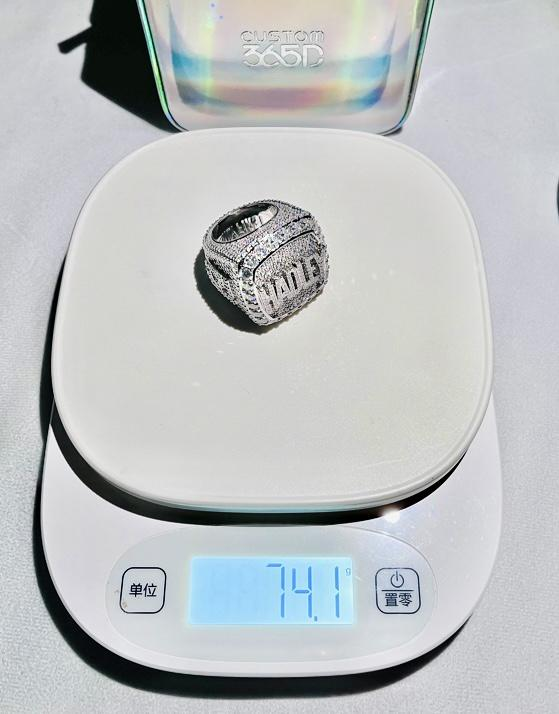
Each ring weighs over 40-60g, ensuring quality.
Each gemstone is individually calibrated.
After the setting of 1000+ gemstones, each gemstone needs to be individually calibrated to ensure that they are correctly fixed in place.
- We firmly believe that price advantage is not only the key to attracting customers but also a concrete manifestation of the value of our services.
- By managing costs through lean management, independent design and production, and eliminating unnecessary intermediate links, we can provide uniquely customized rings to customers at a more competitive price.
- This not only makes high-quality customized jewelry more affordable but also allows more customers to have the opportunity to own personalized jewelry, realizing the true value of jewelry customization.
- Therefore, we not only focus on unique design and manufacturing craftsmanship but also strive to ensure that every customer can enjoy this luxury and uniqueness at a reasonable price.
-
How to make dental impressions
1: Begin with the essentials
Trays: Ensure you have the correct-sized tray for the upper and lower arches.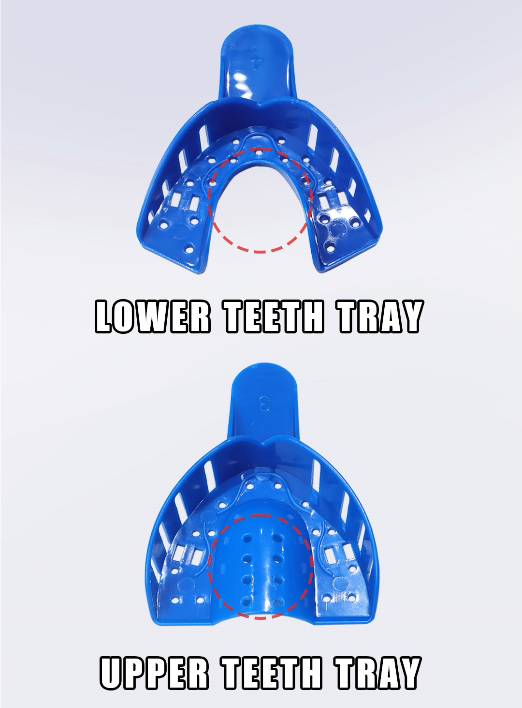
- Timer: Use a timer to monitor impression time for precise results. (Whole process from mix material and finish it around 3-4mins)
- Putty: Keep the putty cans within reach, but wait to mix them.
- Gloves: Maintain cleanliness and prevent contamination by wearing gloves.
2: Prepare before you begin
- Thoroughly wash your hands to ensure cleanliness.
- Brush and floss between your teeth for optimal impressions.
- Check that your trays fit perfectly for a comfortable experience.
3: A good impression
- Properly mix the putty: Achieve a uniform color by quickly and efficiently mixing the blue and white putties.
- Use different putty for each impression: Ensure accuracy by applying equal pressure around teeth and gums.
- Not move tray: Once put tray into mouth and keep it steady, not move it.
- Imprint the molars and gum line: Avoid redoing impressions and achieve a seamless aligner fitting experience.
4: Let’s begin
- Separate the trays for upper and lower arches, starting with the upper teeth impressions.
- Mixing and molding: Wear gloves and combine the white and blue putties until they form one hue.
- Give it 60 seconds:
- Mix the putties until a uniform color is achieved.
- Form a 4-inch long, uniform putty cylinder by rolling it between your palms.
- Fill the tray’s U-shaped space with the extended putty form.
- Imprint the molars and gum line: Avoid redoing impressions
- Place the putty in your mouth and don’t move again.
- Hold the putty steady for 3 minutes, ensuring a precise impression.
- Gently remove the putty, wiping away any residue with a clean towel.
- Repeat the process for upper teeth impressions and twice for the bottom teeth, creating a total of four samples.
- Smile for the pictures:
- Use the cheek retractor to separate your lips.
- Take close-up photos of your teeth and gums from different angles.
- Ensure proper lighting or use your phone’s flash for better visibility.
- Take photos of your front teeth, right and left sides, lower molars, and upper molars.
- It better to get 2 sets of teeth molds in case there is one that can’t be used
5: how to pack and ship back to us
Take picture of different angles of mold, or the video below, it better to ship 2 sets of mold to us together in case there is which one can’t be use
(Our principle is to see each tooth from a different angle)When we confirm it’s ok, and you can pack it well with small package, not use the kits box we sent to you.
6: how to check if the mold can be use or not when you do the first time
Like the one is perfect, and when you confirm it’s ok like this, just continue do the next one as well. After finishing both top and bottom, you can take these out of tray carefully and not break them. And use the rest of the material to do the other set. Totally need to ship 2 sets for us in case there is one can’t use
1: we can see each tooth clearly and continuously visible, no breaks
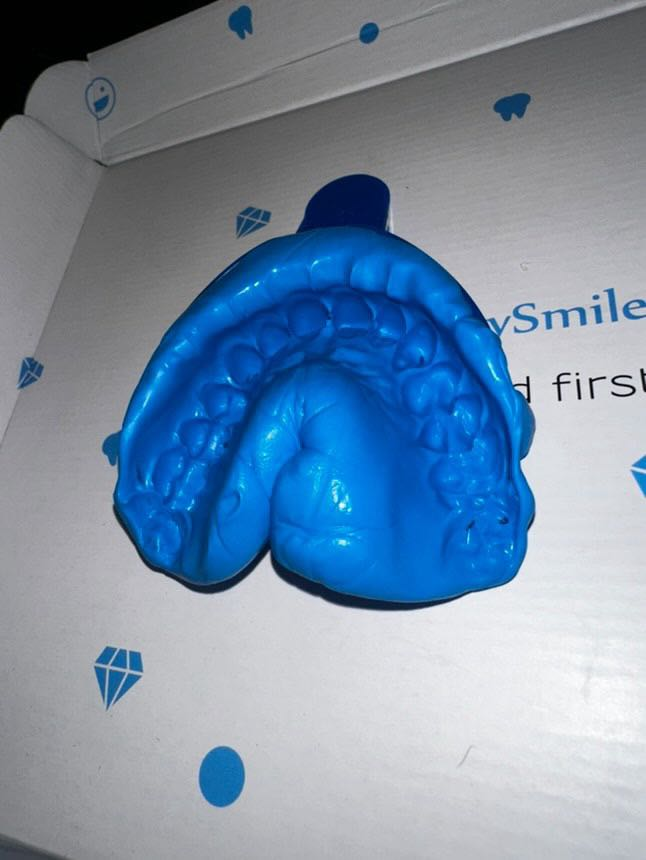
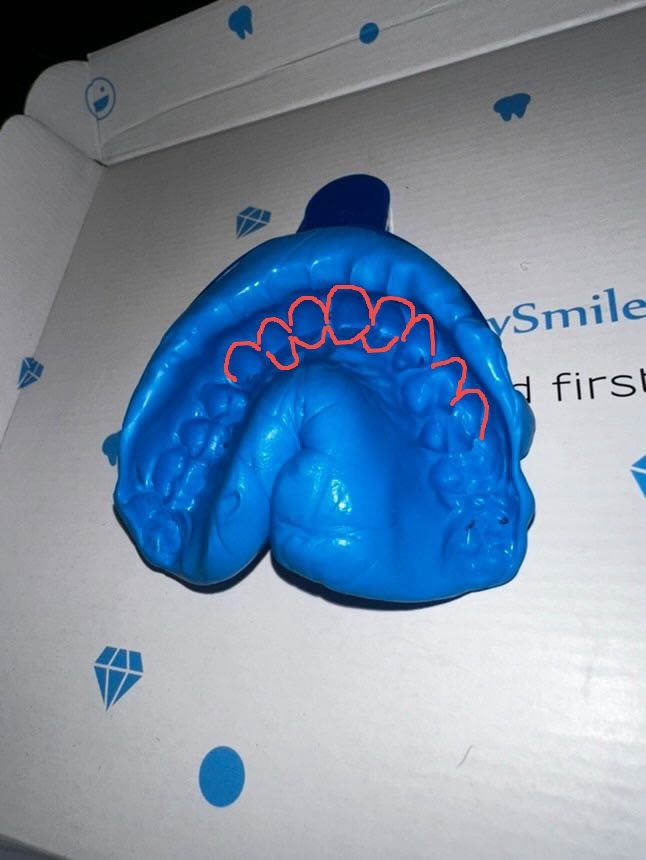
2:The tooth surface is smooth without cracks and no accumulated points or protrusions.


3. There are clear squeeze marks on the gum surface

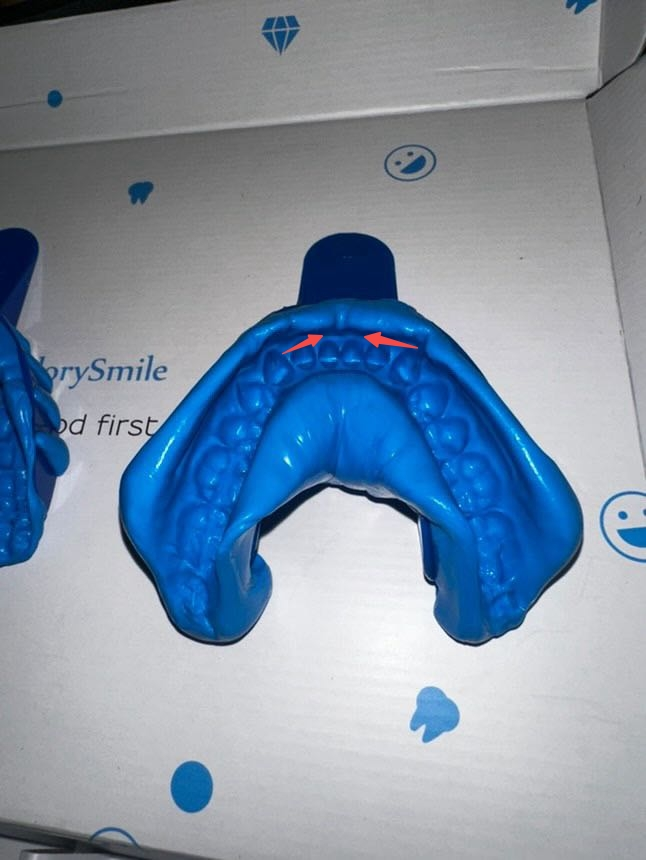
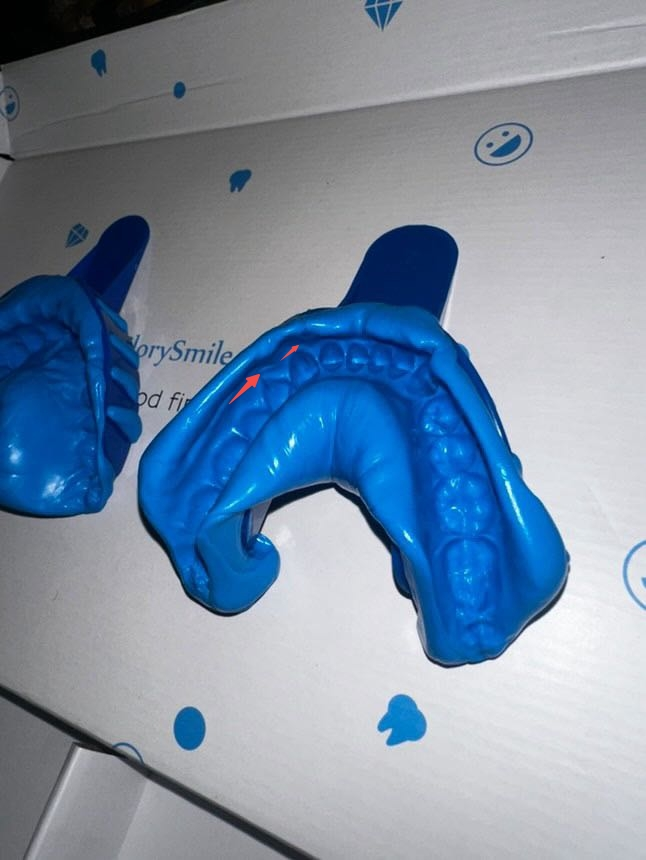
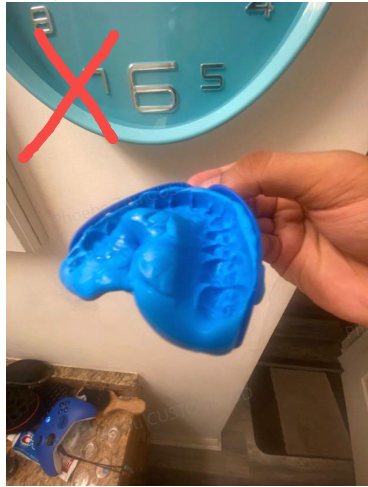
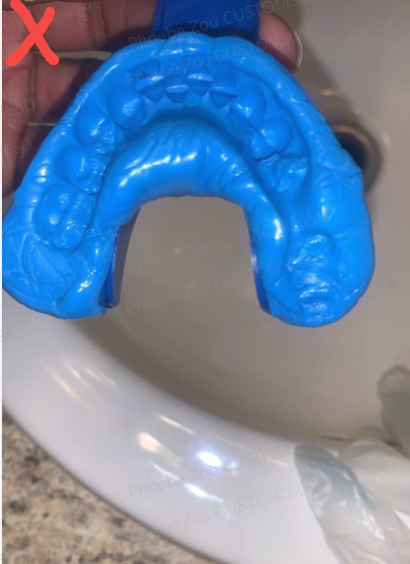
What’s the problem with those molds that can’t be used?Case 1: When biting, it was placed too far in, and biting too far to the side, making it impossible to obtain a complete tooth model.
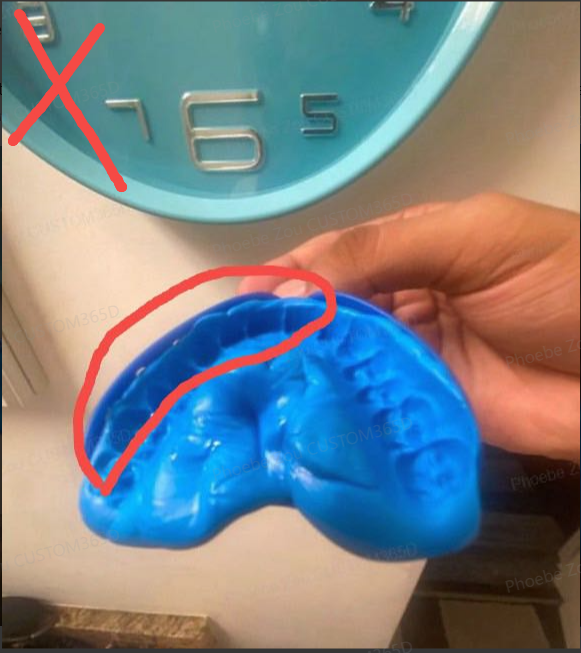
Case 2: Complete bite collapse. When biting, the material needs to be spread flat to every corner of the dental tray, and at the same time, it cannot be placed too far inside the mouth.
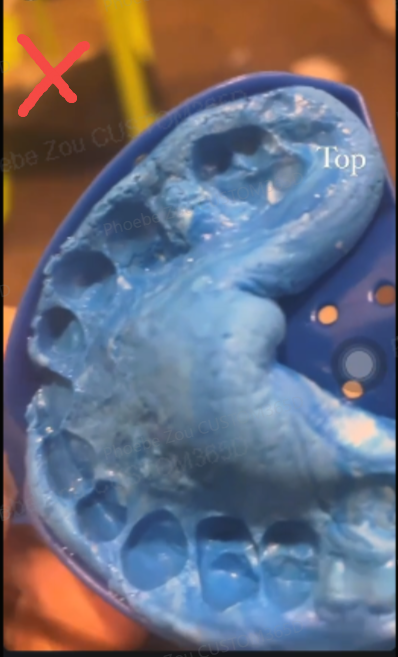
Case 3: The lower teeth are chipped because they are placed too far into the mouth when biting. The teeth should be kept in the middle of the material.
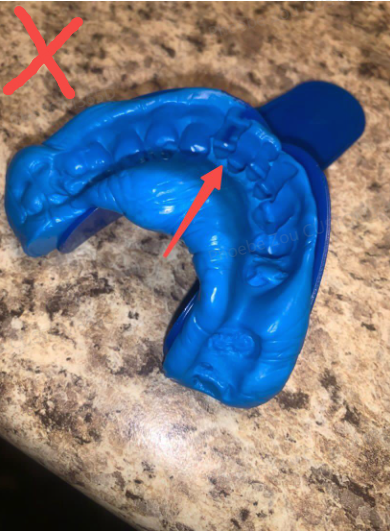
Case 4: The bite is too shallow
7: how to do if didn’t get correct moldPls make sure make dental impressions as better as you can, after we checked and found if the mold can’t be use, there the other solution way like this
1: we can ship the other kits for you to do again. But you need to pay $100 for material and shipping fee
2: you can make a appointment with dentist to get the tooth mold file and email to us, it will be more convenient
3: you can buy 2 sets of mold kits from amazon or other shops
-
A Better Solution for a More Comfortable and Secure grillz Fit
Today, we’ve found an improved solution to help you wear your braces more comfortably and securely. Here’s a quick and easy guide to follow
Step 1:
Prepare boiling water at a temperature of at least 80°C (176°F).
Step 2:
Take out the provided material and place it inside your braces. Use approximately 1/2 to 2/3 of the space inside the grillz.
Step 3:
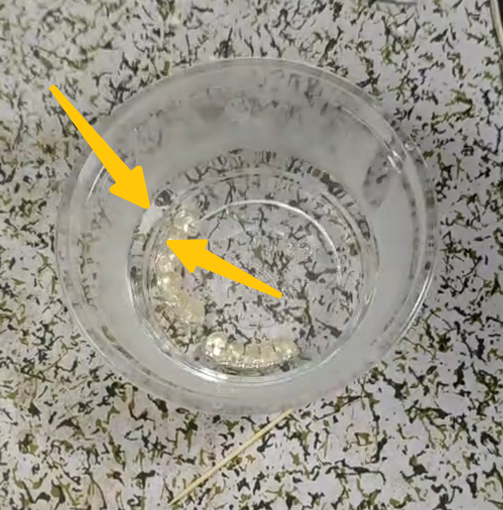
Prepare a bowl, place the grillz (with the material inside) into the bowl, and slowly pour in the hot water.
⚠ Note: Pour gently to prevent the material from being displaced. Continue adding hot water until the braces are fully submerged. You may add a bit more water to maintain the temperature for a longer time.Once the material becomes transparent (as shown in the image), let it soak for another 3-5 minutes. Then, remove the braces and allow them to cool slightly until they are warm but not too hot to touch. Now, they are ready to be worn!
Step 4:
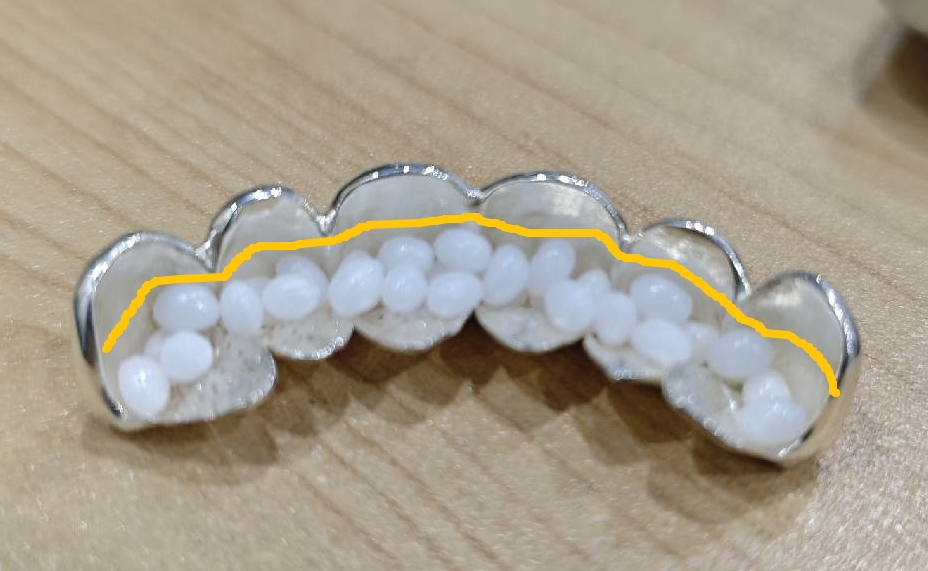
When fitting the grillz, start by biting down on either your upper or lower teeth first.Bite firmly to ensure a snug fit, then do the same for the other set of teeth.
Keep both braces in place for at least 10 minutes, until the material turns white. This ensures a perfect mold inside the braces. After this step, your braces will be ready for regular use.
Optional – Speed Up the Setting Process
To accelerate the hardening process, prepare a cup of cold water. While wearing the braces, rinse your mouth repeatedly with cold water to help cool the material faster.
Additional Tips:- When you’re not using the grillz, simply remove them as usual, and they’ll be ready for your next use.
- After multiple uses, if you need to refresh the material, you can soak both the braces and the material in boiling water and repeat the above steps to remold them for continued use.
Enjoy a more comfortable and secure braces-wearing experience! 😊